Before board members can access the portal, your community needs to be set up and activated. This guide walks board members or community administrators through the initial login process.
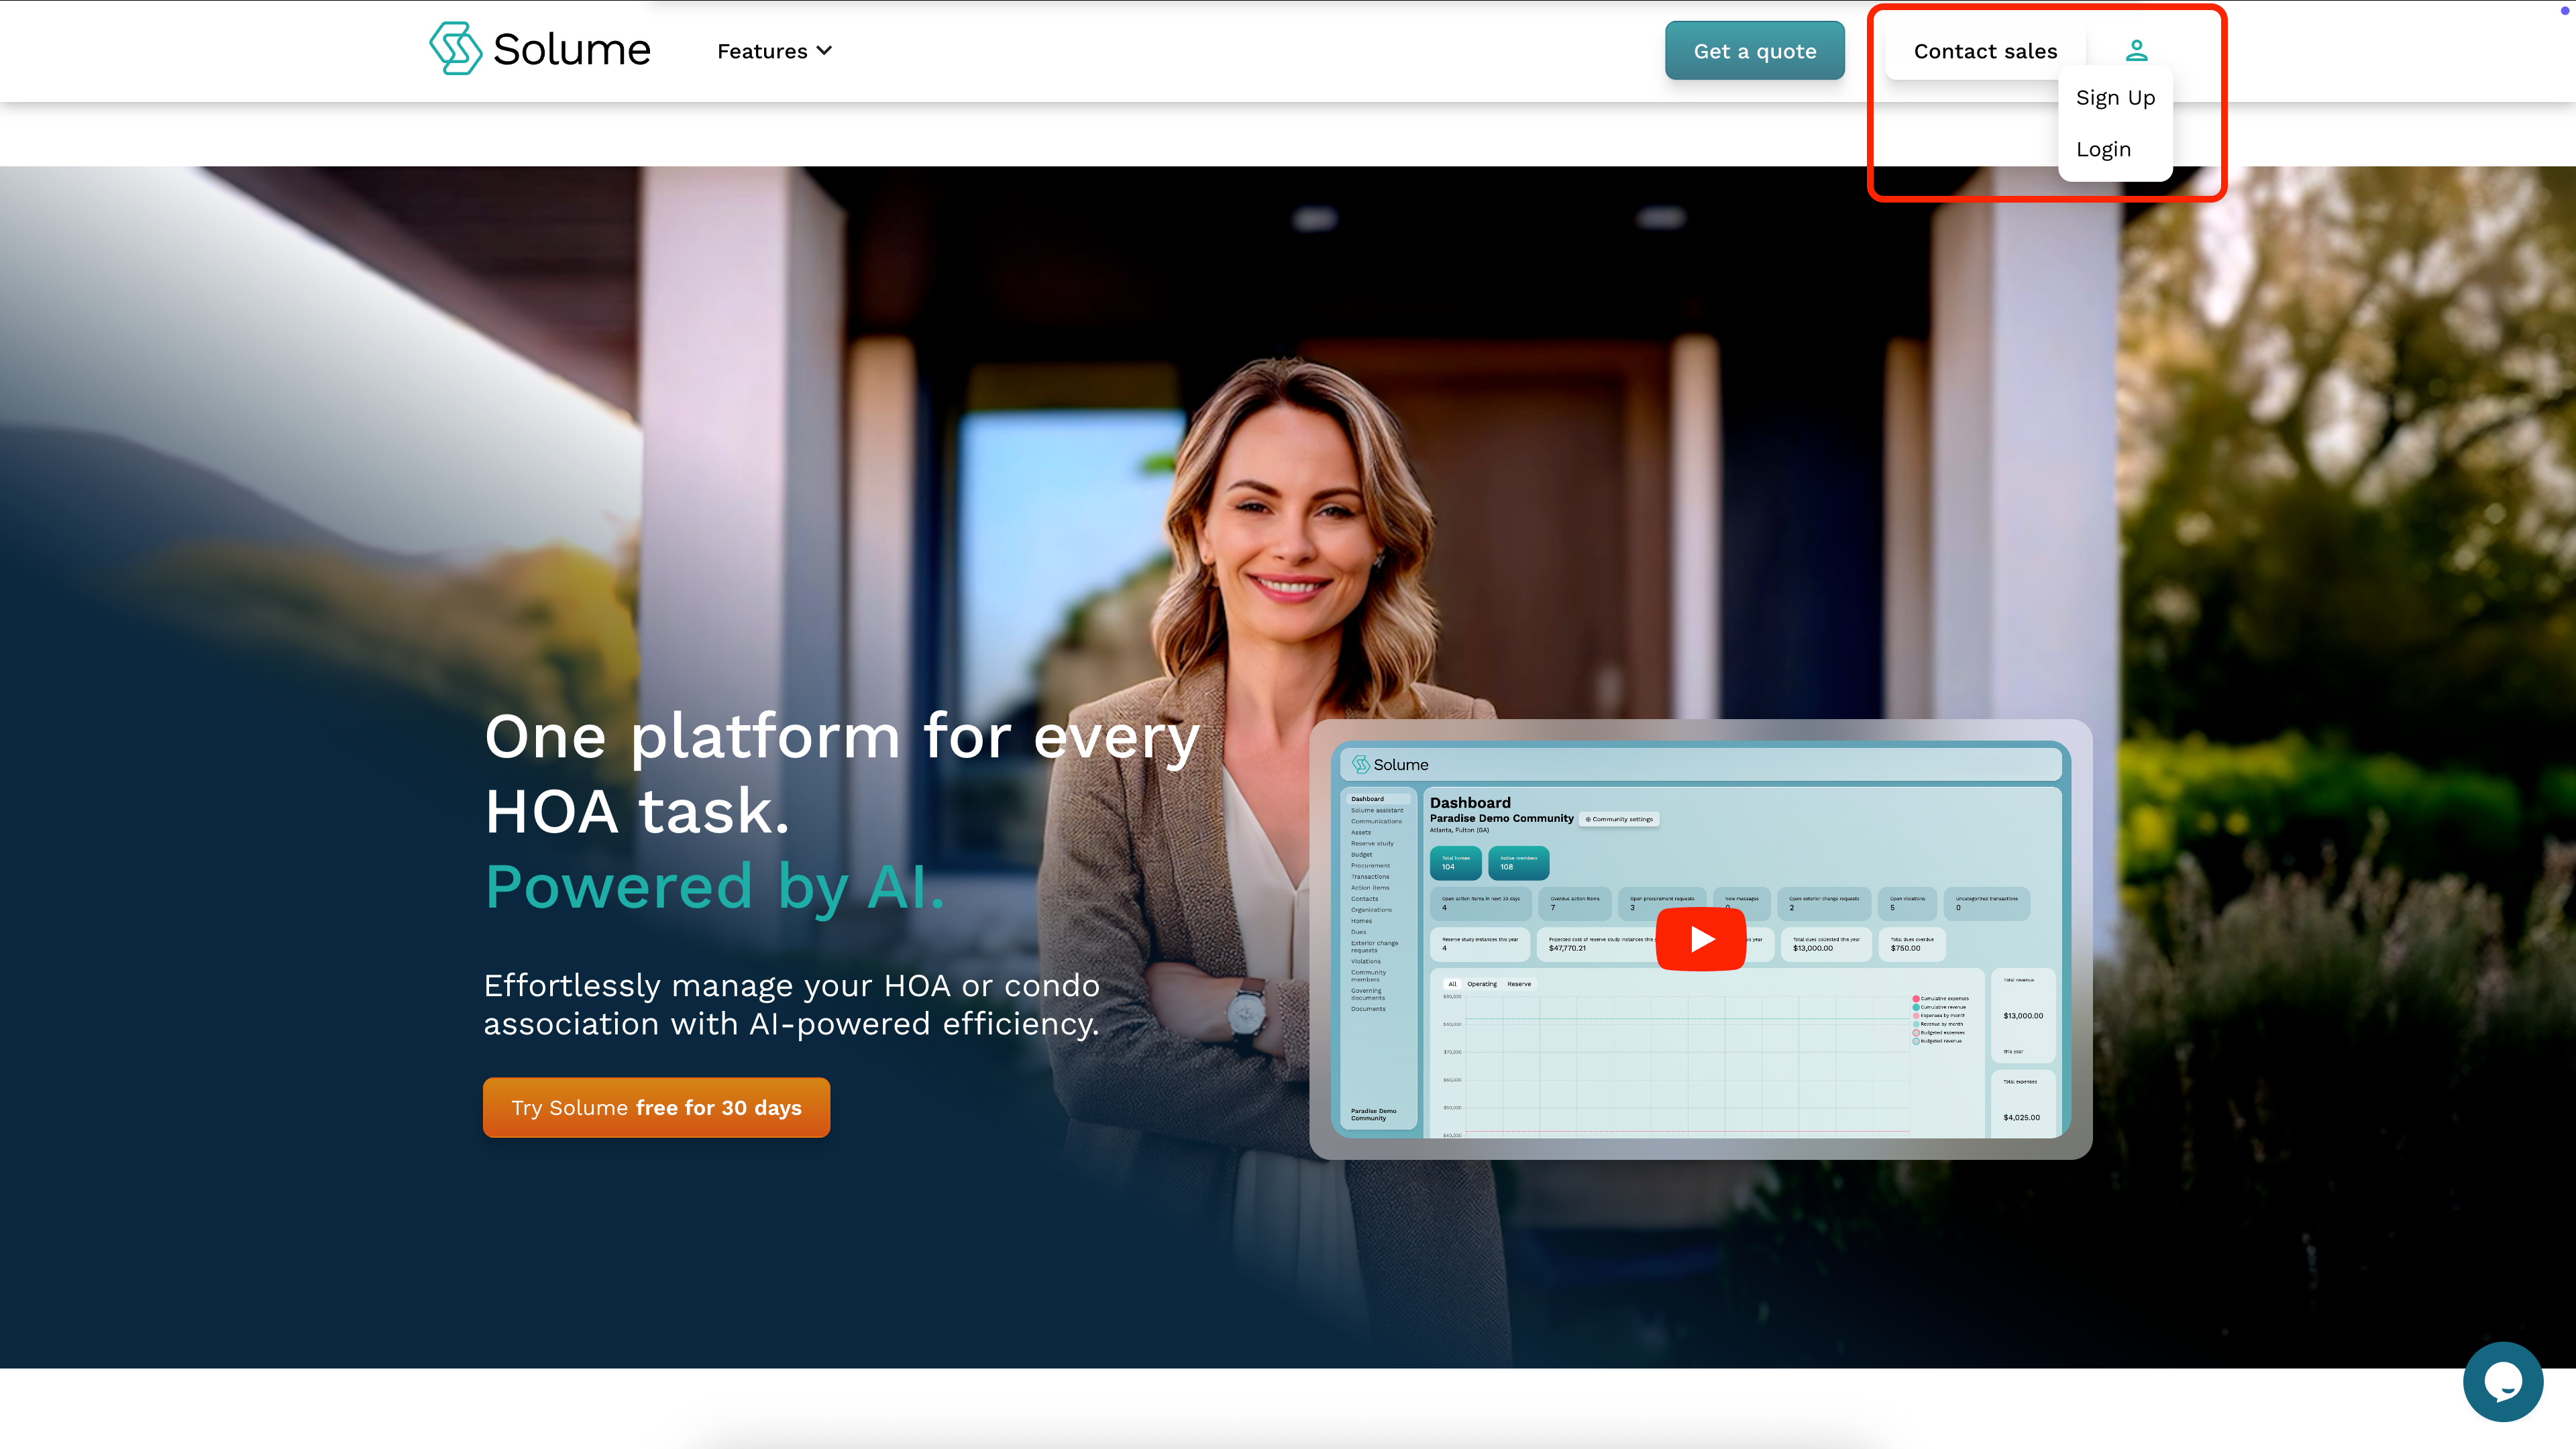
Step 1: Navigate to the Solume Portal
Open your web browser and go to community.solume.com.
Step 2: Click Sign Up
In the upper right-hand corner of the screen, locate and click the Sign Up button.
Note: If you have already signed up previously and are simply logging back in, click Log In instead.
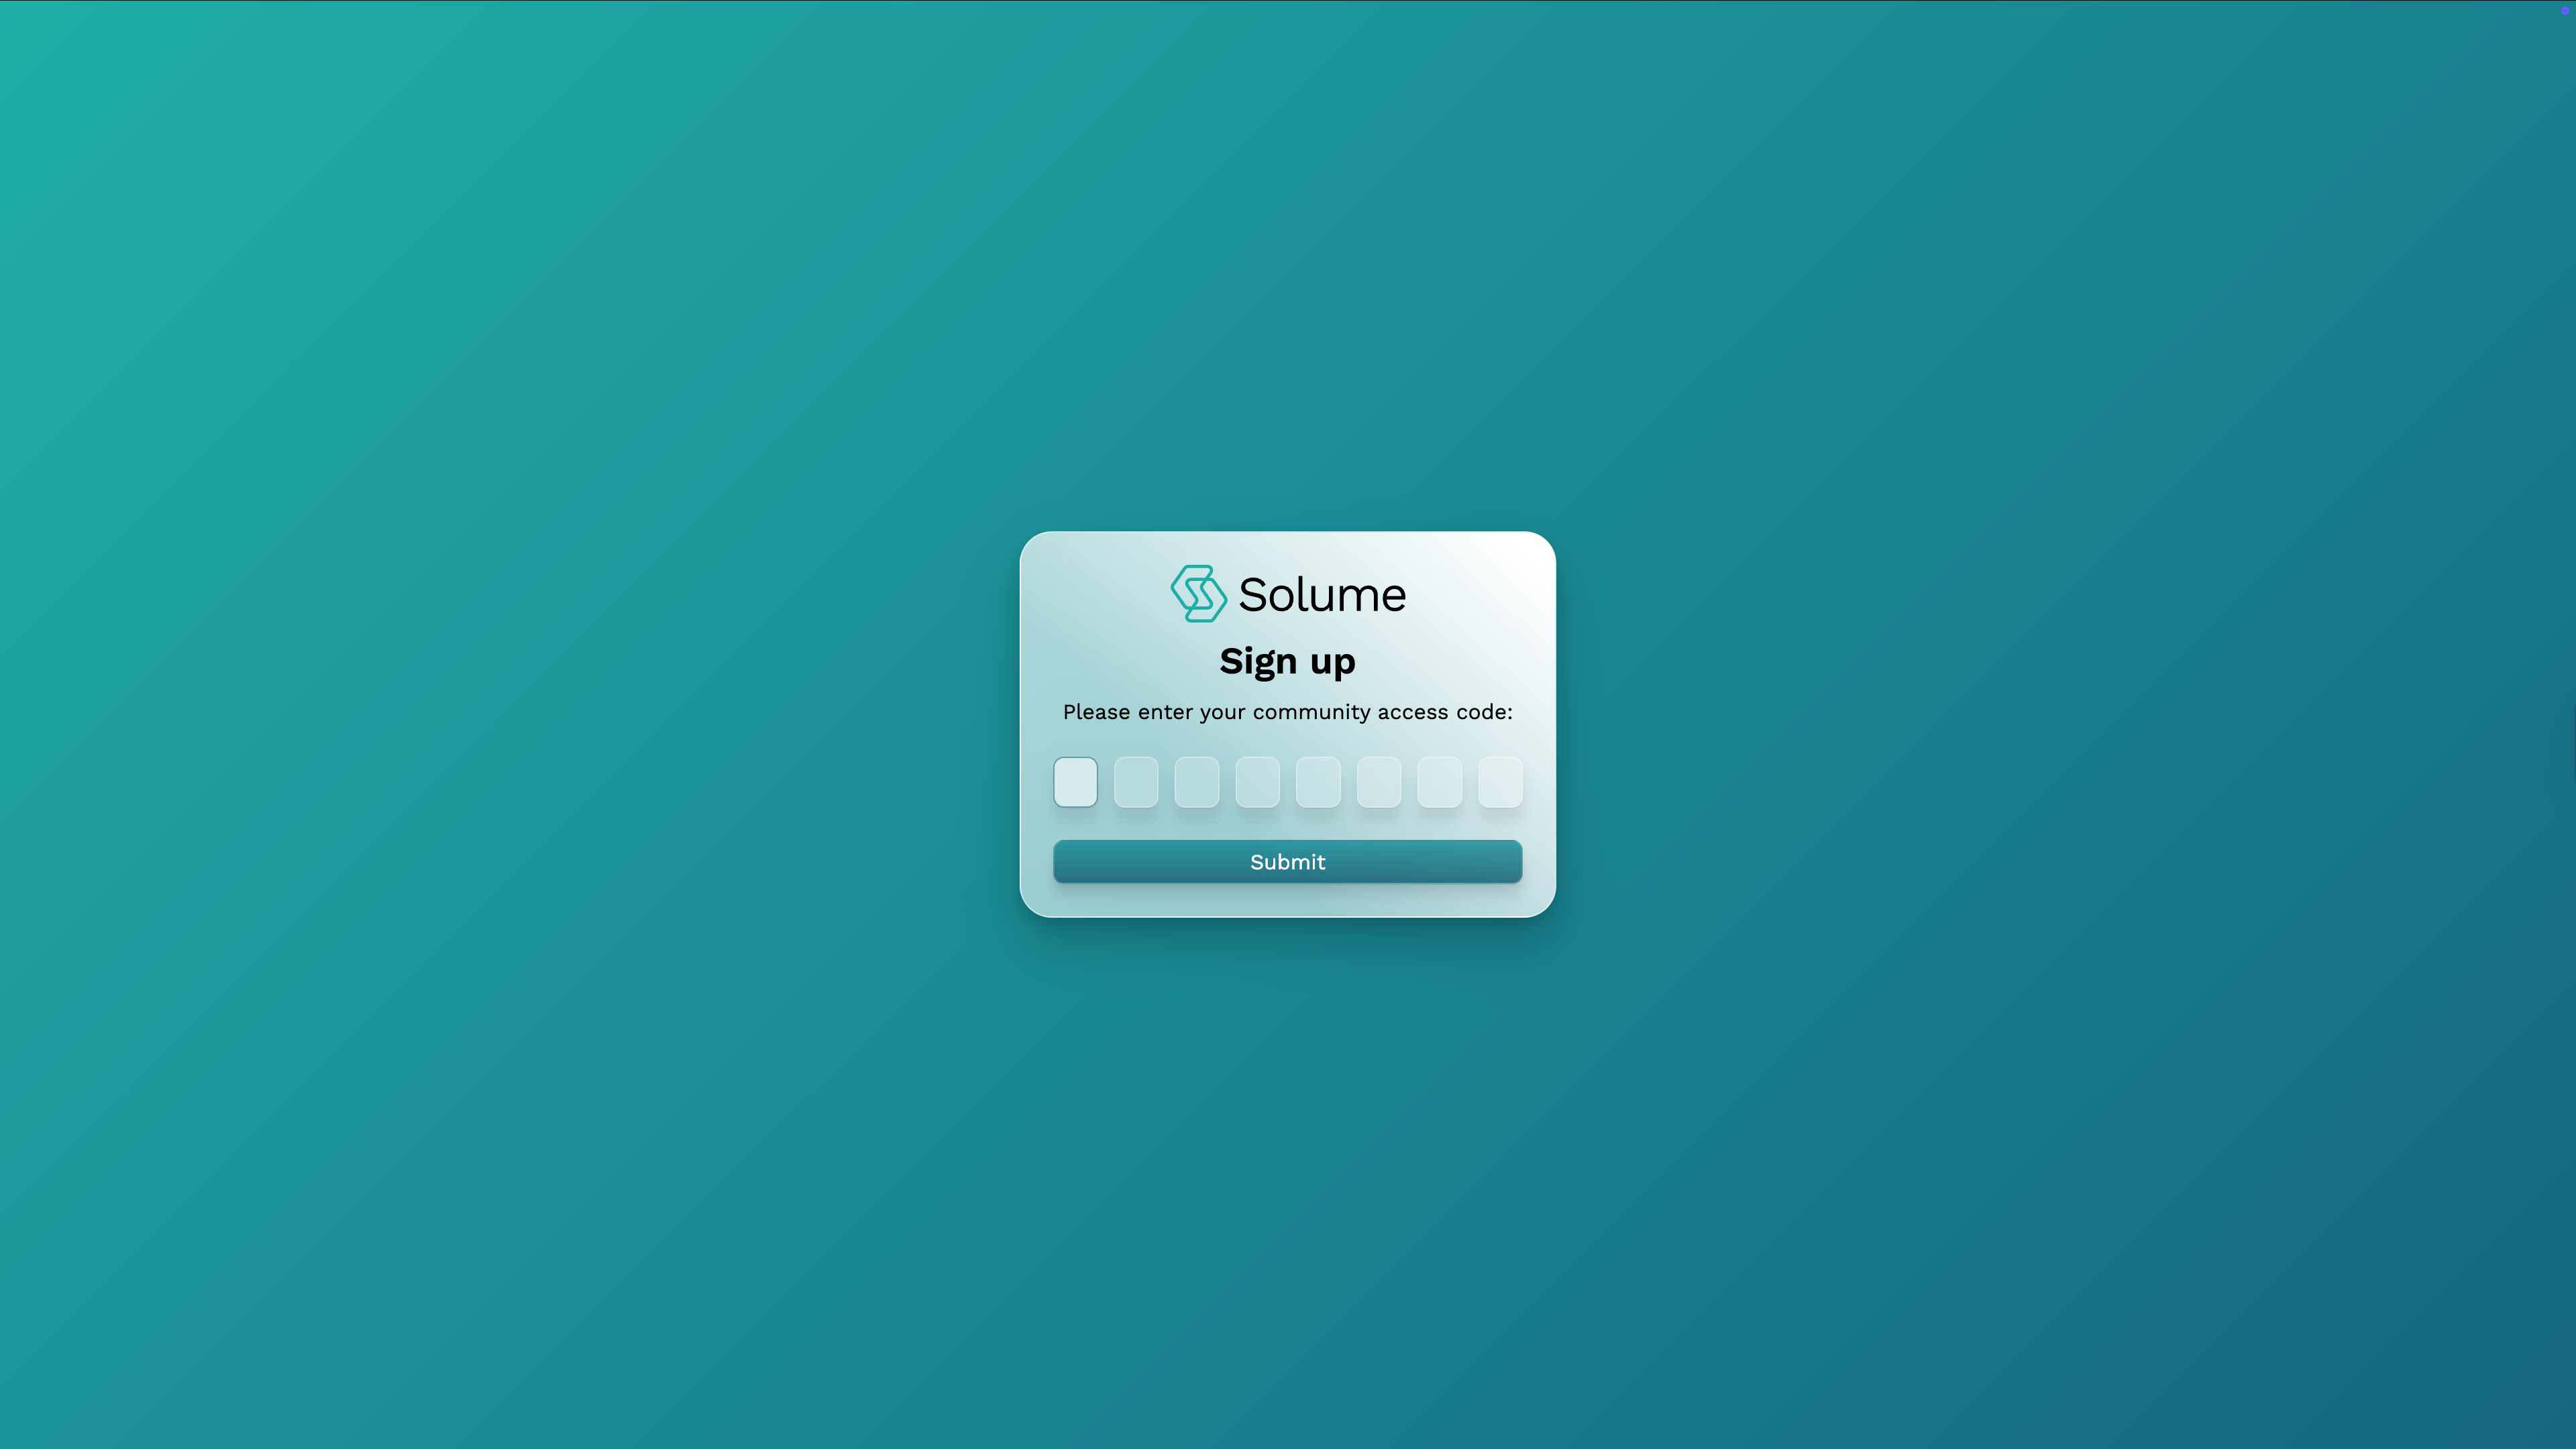
Step 3: Enter Your Community Access Code
You will be prompted to enter your community's access code. This is a unique eight-digit code assigned exclusively to your community. Enter it and click Submit.
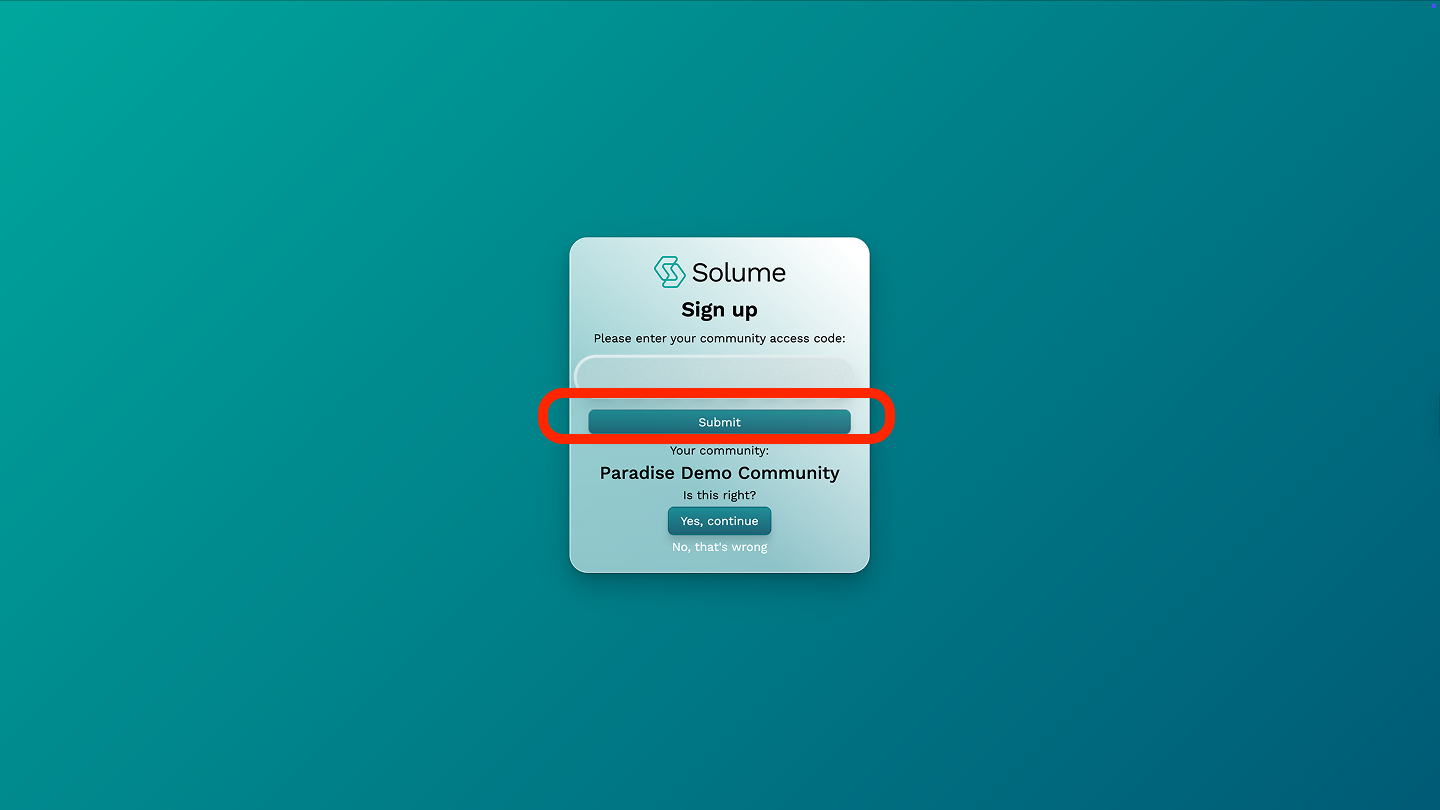
Step 4: Confirm Your Community Name
After submitting your access code, your community's name will appear on the screen. Verify that this is correct.
- If it is correct, click Yes to proceed.
- If it is incorrect, click No — this will notify the Solume team that there is an issue so it can be resolved.
Step 5: Complete Your Initial Community Setup
Once you're logged in for the first time, your community profile will be blank. Navigate to Community Settings and update the following to get started:
- Community name
- State, county, and city where the community is located
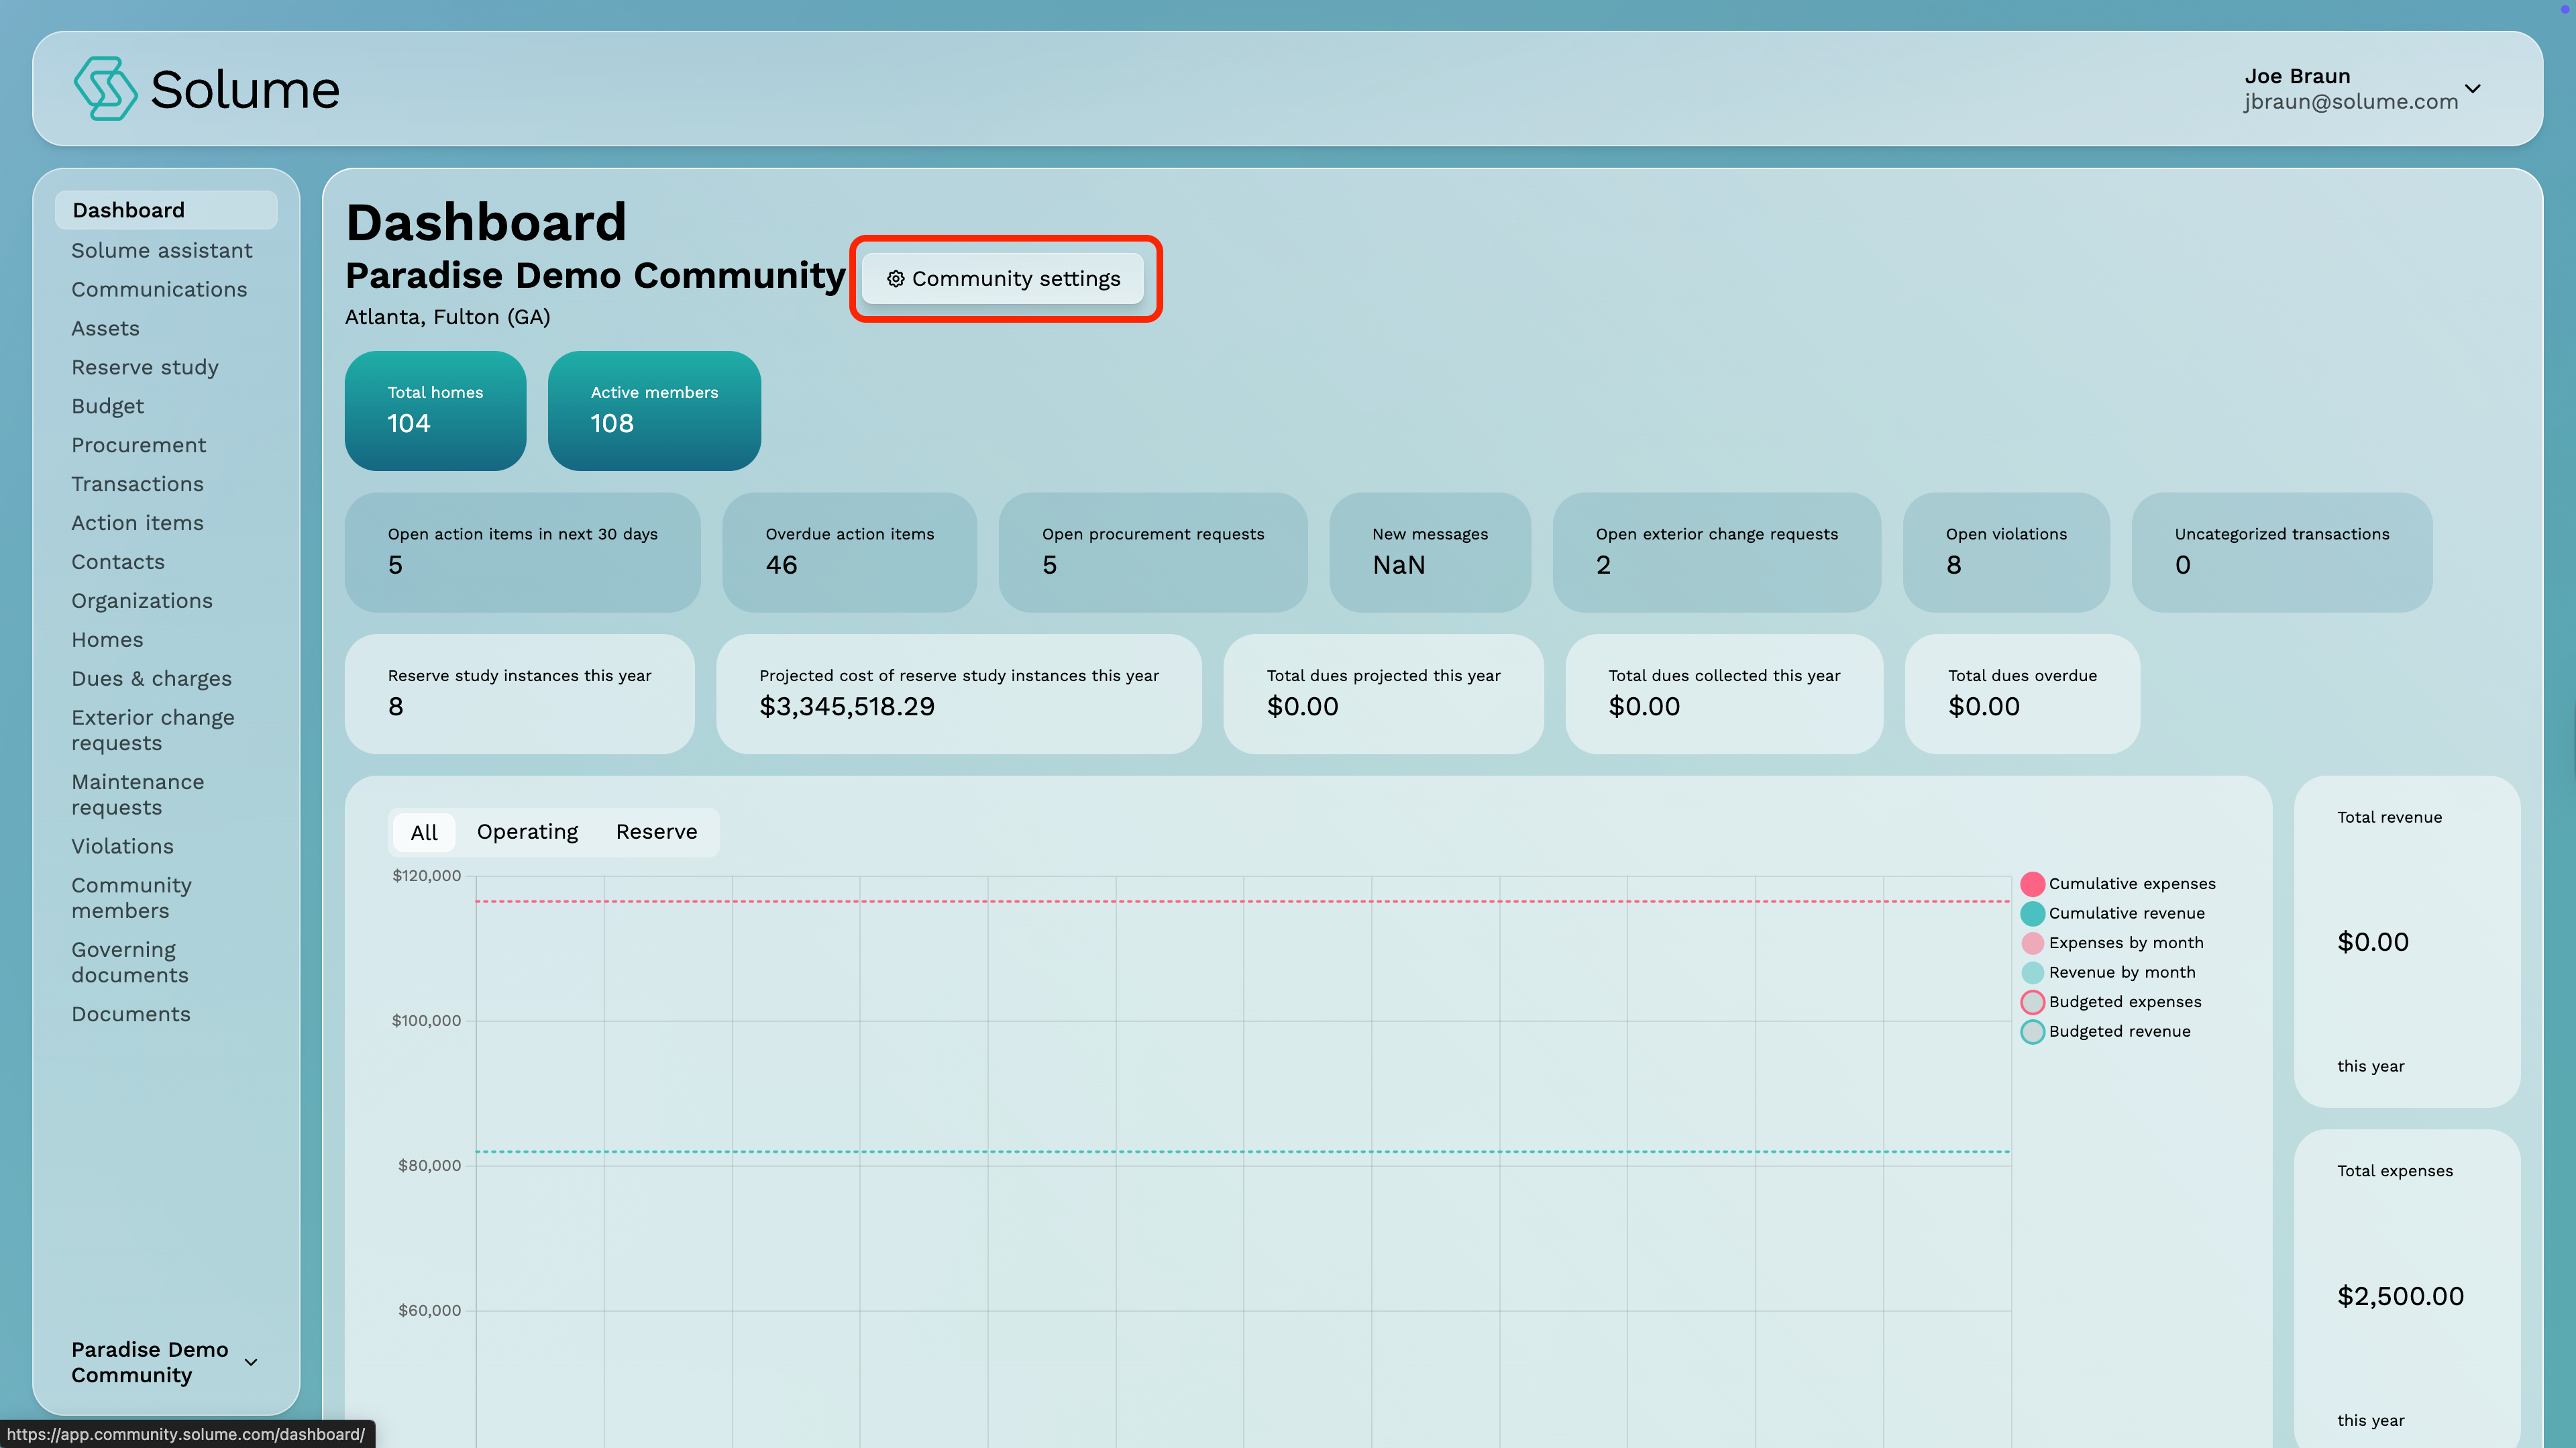
Note: This initial setup only needs to be completed once. Additional settings and features can be configured as you continue your onboarding.
